Receipt scanner · Works in your browser · No app to install
Receipt scanner for contractors: turn material receipts into invoice lines
Snap a receipt on site or upload a PDF. We read the store, date, items, tax and total for review. You tick what to bill, add your markup, and it lands on the client's invoice with the receipt attached.
Drop a receipt here
Scan a receipt
JPG, PNG, WebP, HEIC or PDF · up to 20 MB before compression · one file
On your phone? Open this page there to take a photo.
Your pending photo is held for 24 hours.
- 1 free scan. No account needed.
Unsure fields stand out
Anything read below 85% confidence turns amber, so you check it first.
Totals are cross-checked
The lines are added up and, with the printed tax, matched to the printed total.
Bill only the job's lines
Leave personal items out, set a markup on each line, and send the rest to an invoice draft.
Proof goes with the bill
Your client can open the original receipt from the invoice they receive.
Try a sample first
Three fictional receipts, with prewritten results. No upload, account or scan needed.
Swipe the table sideways to see every column.
| Bill | Client label / original | Qty | Cost | Client price |
|---|---|---|---|---|
| Yes | Framing lumber | 8 | $96.00 | $110.40 |
| Yes | Deck screws | 2 | $36.00 | $41.40 |
| No | Work gloves — own use | 1 | $16.00 | — |
Sample · fictional receipt, prewritten result.
How to scan a receipt
Scan
Take a photo or upload a PDF. Store, date, items and totals come back for review. Anything we're unsure about is highlighted for you to check.Pick and mark up
Tick the lines to bill, choose the job, and add your markup.Add to an invoice
The lines go onto a draft invoice as materials, with the original receipt attached so your client can see it.
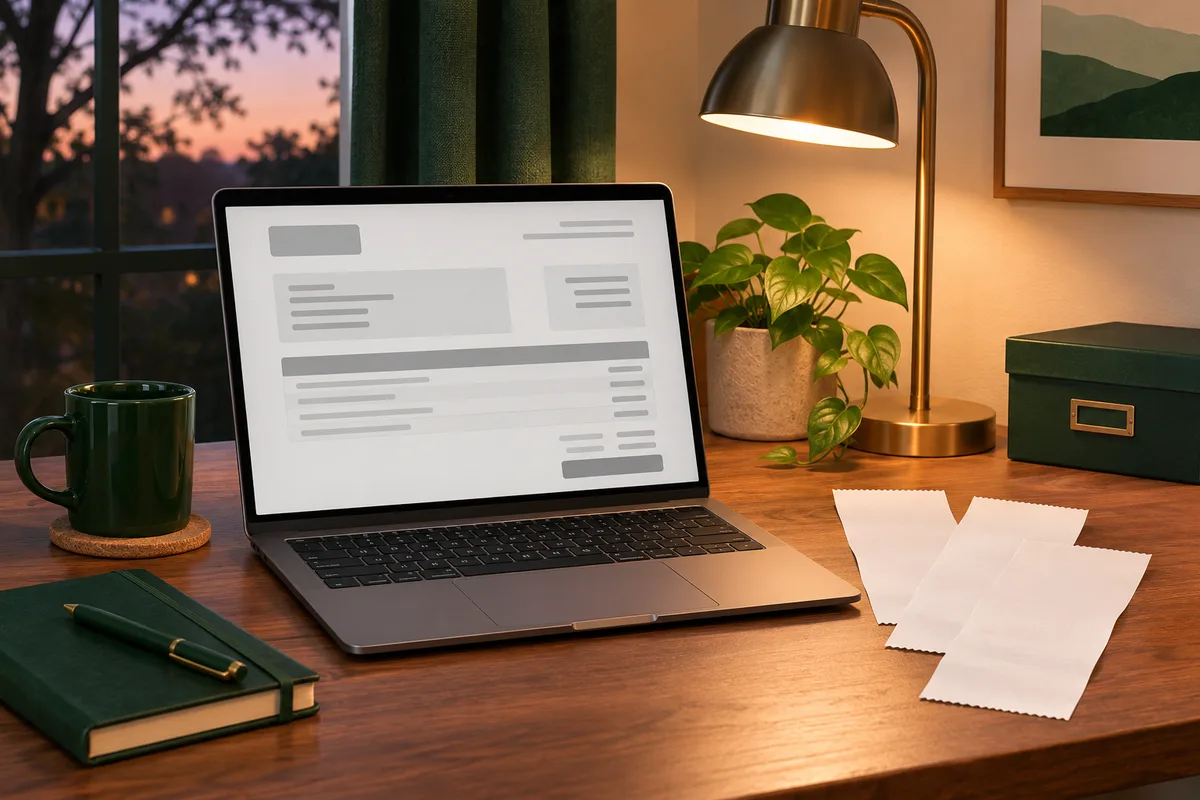
From the paper pile to the invoice
Lay the receipt flat, scan it, check each line against the paper, then put the lines you want on the invoice.
Scan a receipt
Take a photo or drop a file. Check the lines, add your markup, put them on an invoice.
Turn material receipts into invoice lines
You bought the materials. Now get them onto the invoice, with your markup, without retyping a thing.
- Hours lost to data entry. Typing every receipt into a spreadsheet or invoice, line by line, after a full day on site.
- Snap it and the store, date, items, tax and total are read for you for review. Review the extracted details before billing.
- Typos and totals that don't add up. One wrong digit and the invoice is off; you only find out when the client queries it.
- Every line is checked against the receipt total, and anything we're unsure about is highlighted before it reaches an invoice.
- Billing from the job site is awkward. You're on a ladder or in a truck, not at a desk, and the receipt is crumpled in your pocket.
- Scan on your phone at the counter or on site, and the materials are on a draft invoice before you drive away.
- A shoebox of receipts, and a client who wants proof.
- The original is attached to the invoice, so the client can see exactly what you bought.
- Cryptic item codes like "SHW EMRLD INT FL GAL".
- Rename each line the way your client will understand it.
- Half the receipt was for another job, or for you.
- Tick only the lines you're billing, and split a receipt across jobs.
- Forgetting the markup, or charging tax twice.
- Set your markup per line. Cost, markup and client price stay separate, and tax is copied from the receipt, never guessed.
- Billing the same receipt twice, or never.
- Every receipt shows whether it's unbilled, part-billed or billed.
What does a receipt scanner do, and what is receipt OCR?
After a day on site, someone still has to read the receipts, type the items and match them to customers. A receipt scanner takes on the initial transcription so you can focus on review and billing. Invosmith connects selected material lines, your markup and the original receipt to a draft invoice.
A photo preserves the appearance of a receipt. OCR, short for optical character recognition, reads the text in that image. A receipt workflow then arranges the extracted details into fields and item rows you can check against the source.
Invosmith helps you bill purchased materials: scan, review, tick the relevant lines, add markup and put them on a draft invoice with the original attached. Review determines which items belong to each customer in a mixed shopping basket.
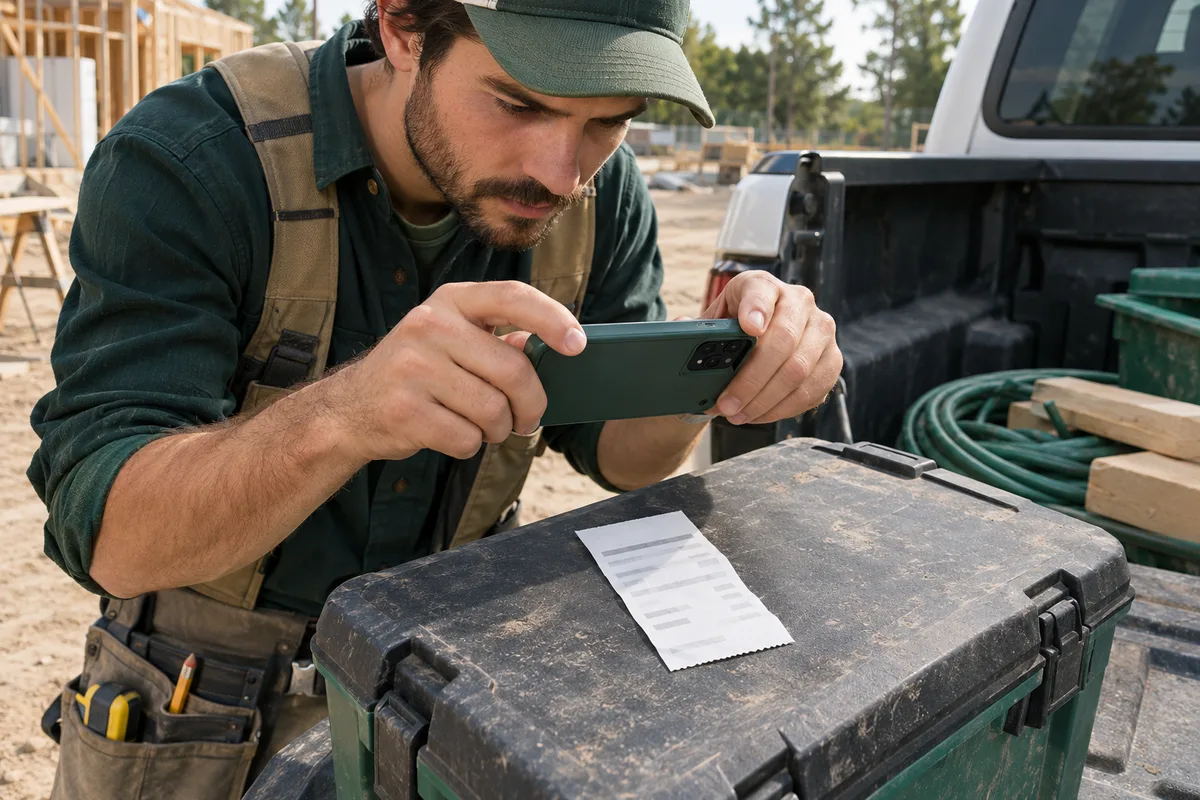
How to scan receipts: capture, review and add to an invoice
Lay the receipt flat on a plain surface. Include all four edges, the store heading and the final total. Use even light, keep shadows away from the price column, and hold the phone parallel to the paper. Check that the small print at the bottom is as sharp as the heading. Move reflections away from glossy paper before taking the photo.
Before you take the photo
- Lay the receipt flat on a plain surface; unfold any creases.
- Get all four edges, the store heading and the final total in the frame.
- Use even light and tilt glossy paper away from reflections.
- Hold the phone parallel to the paper and tap to focus on the small print.
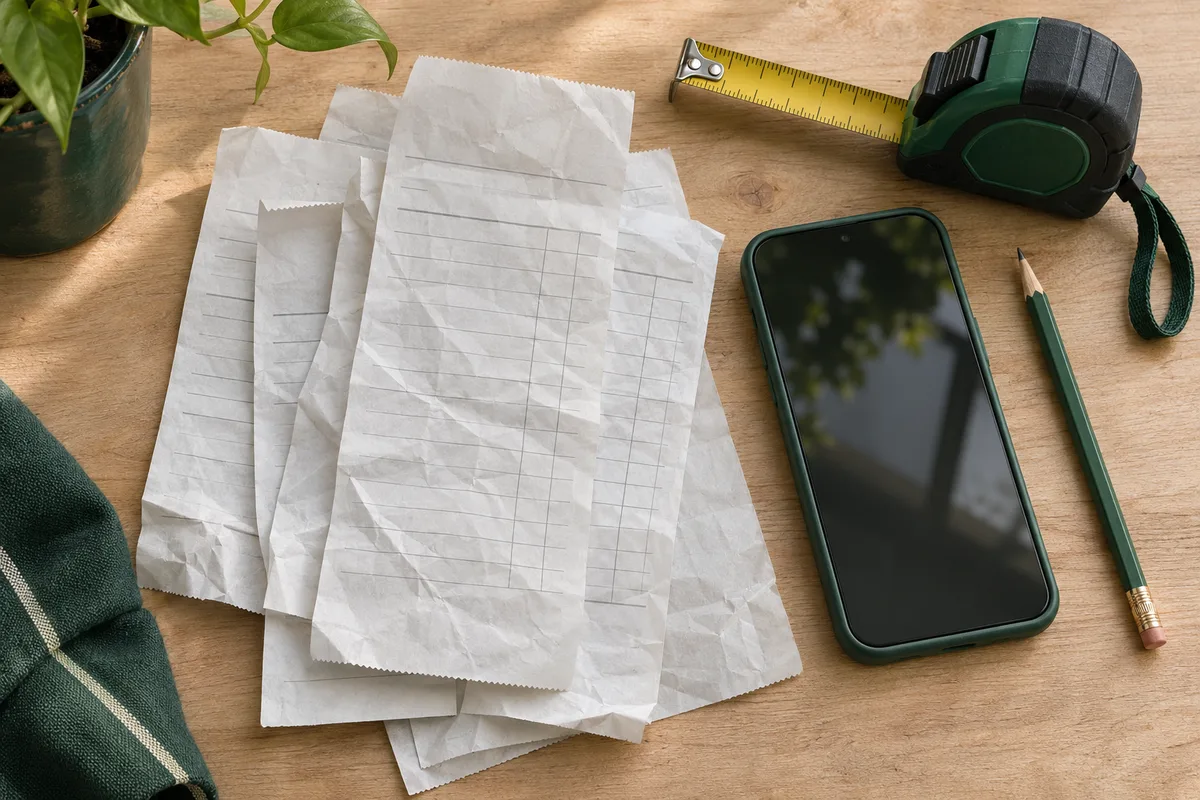
Upload the photo or PDF, then compare the extracted store, date, items and amounts with the original. Correct missing or misread details before selecting the lines to bill. Add your markup, choose the customer and add those materials to a draft invoice with the original attached.
On a building site, capture the receipt while the purchase is fresh in your mind, instead of reconstructing a pocketful of purchases later. Manual entry remains an option when scanning is unsuitable.
Which receipt details should you keep together?
A total alone rarely explains a purchase. Keep enough detail to trace an item back to the source and the work it supported.
| Detail | Why it matters |
|---|---|
| Purchase date and merchant | Identify the transaction and organize records by month or supplier. |
| Item description, quantity and original amount | Explain what was bought before any client markup. |
| Currency, subtotal, printed tax and total | Keep different amounts distinct; do not add different currencies together. |
| Customer or job note | Connect selected materials to the work they belong to. |
| Receipt reference and source image | Return to the original when an amount is questioned. |
Name your own files consistently using purchase date, merchant and job, and back up the original photo or PDF. Scanning does not automatically create bookkeeping entries or searchable archives.
Check OCR mistakes before you use the totals
Reviewing a scan means comparing each field the scanner read with the receipt it came from. Every scan opens side by side: the receipt on the left, the fields on the right.
Check the scan before you bill
Receipt
What the scan read
| Store | Corner Hardware |
|---|---|
| Date | 2026-10-10 |
| 1 × Interior paint, 1 gal | $45.00 |
| 2 × Roller sleeves | $18.00 |
| 2 × Masking tape | $12.00 · check this line |
| Tax (as printed) | $0.00 |
Lines $75.00 + tax $0.00 = $75.00 · matches the printed total
Look at the amber rows first
A field turns amber when the scanner is less than 85% confident in what it read. Fix those against the paper before anything else.Read the total check
The lines plus printed tax are added up and compared with the printed total. A gap means a line is misread or missing.Then tick what to bill
Untick your own purchases, rename store codes and choose the job. Only ticked lines go onto the invoice.
Sample · fictional receipt. In this sample the tape line is flagged for a quick check; the lines add up to the printed $75.00 total.
More on reviewing a scan
Compare the merchant, date and receipt reference first. Then review each description, quantity, unit price and amount. A missed decimal point can change a price; a faint character can change an item code. Review highlighted fields and the rest of the receipt before billing.
If rows do not match the total, look for missing items, discounts, printed tax or tips. Preserve printed amounts; do not invent a tax rate to force a balance. Review returns and refunds separately, check for duplicate purchases, and correct missing fields from the source.
Receipt workflows for contractors, freelancers and small business owners
Contractors and construction workers
You may buy fittings on the way to a repair, paint during a renovation or fasteners between jobs. Retyping every supplier line after physical work adds another shift of administration. Scan while you are at the counter or back in the truck, review the amounts and tick the materials for that customer. Leave your own tools and unrelated purchases out. Add your chosen markup and move the selected lines to a draft invoice. The source attachment gives the customer a clear reference when they ask what the materials charge covers.
Freelancers
A paper slip, supplier PDF and hurried phone photo can be hard to match to a project weeks later. Capture the source while you remember its purpose, keep personal and business purchases distinct, and note whether a cost is for client billing or reimbursement. Reviewing extracted fields can reduce repetitive transcription when preparing your records. Preserve the original for tax preparation; scanning does not determine deductibility or tax treatment.
Small business owners
When staff buy supplies, chasing an unclear photo or an unexplained total takes office time. Keep the purchase date, payer, purpose and source together, and group your own records consistently by month or supplier. Check whether a cost has already been reimbursed before processing it again. For customer materials, use the reviewed lines and attached receipt to support the invoice. That can reduce copying between paper and a bill, while reimbursement approval and bookkeeping remain separate work.
Prepare receipt evidence when a client asks about materials
Start with the original purchase amounts and select the lines for that customer's job. Use descriptions the customer recognizes instead of cryptic store codes. Keep cost, chosen markup and client price distinct during review, then add the materials to a draft invoice with the receipt attached.
Markup is measured against cost; margin is measured against selling price. They are different percentages. A receipt records the purchase, while your invoice records the charge to the customer. Attaching the source helps explain that connection; it does not decide the agreed pricing or whether a contract requires disclosure.
Save thermal-paper receipts before they fade
Capture thermal-paper receipts while the print is still readable. Flatten the paper, use even light and inspect the saved image at a readable size, especially the date and totals. Keep it with a recognizable reference in your own records.
Scanning cannot be relied on to restore text that has disappeared. A clearer photo can address shadows or blur, but missing evidence needs a readable supplier copy. Keep the source image for details that extracted fields may omit.
Scan the faded ones first
Thermal paper darkens and fades over time, so scan the oldest receipts in the pile before the newest.
How long should you keep receipts? IRS periods depend on the situation
The IRS ties retention to the event and return a record supports. Its income-tax periods generally run from filing; an early return counts as filed on its due date. The IRS record-retention guidance distinguishes these situations:
| Period | IRS condition |
|---|---|
| 3 years | General rule when the longer-period exceptions below do not apply. |
| Later of 3 years from filing or 2 years from payment | A credit or refund claim filed after the original return. |
| 6 years | Unreported income exceeds 25% of gross income shown on the return. |
| 7 years | A claim for a worthless-securities loss or bad-debt deduction. |
| Indefinitely | No return filed, or a fraudulent return filed. |
| At least 4 years | Employment-tax records, after tax becomes due or is paid, whichever is later. |
| Through the applicable disposal-year limitation period | Property records supporting basis and related calculations. |
Insurance or creditor requirements may last longer. These conditions do not establish one universal receipt-retention period.
For electronic records, IRS Publication 583, Recordkeeping requires accurate, complete, readable records that can be indexed, preserved, retrieved and reproduced for IRS access. Paper destruction depends on a tested system meeting IRS requirements and procedures maintaining compliance; other required records must still be retained. A photo or spreadsheet alone does not establish that those conditions are met. Keep the source alongside extracted details.
Receipt retention in Australia, the UK and Canada
Each tax authority sets a general period for most records, with exceptions by record type and situation, such as late returns. The table gives the general rule and its starting point from each official page.
Show the retention periods by country
| Country | General period | When it starts | Official source |
|---|---|---|---|
| United States | 3 years in most cases; longer in the cases listed above | From the date you filed the return | IRS record-retention guidance (linked in the section above) |
| Australia | 5 years for most records | From when you obtained the record or completed the transaction, whichever is later | ATO: Overview of record-keeping rules for business |
| United Kingdom (self-employed) | At least 5 years | After the 31 January submission deadline for that tax year | GOV.UK: How long to keep your records |
| Canada | 6 years | From the end of the last tax year the records relate to | CRA: Where to keep your records and for how long |
Late returns change the clock. In the UK, a return sent more than 4 years late means keeping records for 15 months after you send it. In Canada, a late return means 6 years from the date you file it.
Receipt
What the scan read
| Store | Roadside Fuel |
|---|---|
| Date | 2026-10-11 |
| 1 × Fuel for job equipment | $48.00 |
| Tax (as printed) | $0.00 |
Lines $48.00 + tax $0.00 = $48.00 · matches the printed total
Receipt scanner vs expense apps, scanners and OCR
| Option | Built for | This scanner |
|---|---|---|
| Expense apps (Expensify, Dext, Shoeboxed) | Expense reports, reimbursement and bookkeeping | Turns material receipts into invoice lines for your client |
| Desktop receipt scanner hardware | Batch-feeding paper at a desk | Runs in the browser; on a phone it uses the camera |
| General OCR tools | Copying the text off an image | Reads fields into lines you can mark up and bill, with the original attached |
Photo at the job site
Take the photo where you bought the materials, before the receipt is folded, creased or lost.
What the receipt scanner reads
A receipt field is one labelled value on the receipt, such as the store name or the total. The scanner returns each field separately so you can check it against the paper.
| Field | What it is | What to check |
|---|---|---|
| Store | The seller printed at the top of the receipt. | Branch names and franchise numbers often print in small type. |
| Date | The purchase date, read as year-month-day. | Day and month can swap on receipts printed outside the US. |
| Receipt number | The transaction or invoice reference. | Keep it. Suppliers look up returns and disputes by this number. |
| Line items | Description, quantity and amount for each row. | Store codes like "SHW EMRLD INT FL GAL" need a name your client will recognise. |
| Tax | The tax amount exactly as printed. | Receipts with state and local tax lines should show both. |
| Total | The amount charged, as printed. | Lines plus tax should equal it to the cent. |
Receipt
What the scan read
| Store | Corner Hardware |
|---|---|
| Date | 2026-10-10 |
| 1 × Interior paint, 1 gal | $45.00 |
| 2 × Roller sleeves | $18.00 |
| 2 × Masking tape | $12.00 |
| Tax (as printed) | $0.00 |
Lines $75.00 + tax $0.00 = $75.00 · matches the printed total
- On site: take a photo
- On a phone, Take a photo opens the camera directly. Scan at the counter or in the truck, while you still know which job the materials are for.
- At a desk: drop the file
- On a computer, drag the photo or PDF onto the drop area, or use Choose files. Supplier e-receipts saved as PDF scan the same way as photos.
- Emailed receipts: save as PDF first
- Print the supplier email to PDF, then upload it. A PDF keeps the print sharp, which helps with small digits that a screenshot can blur.
How to turn receipts into CSV or spreadsheet rows
Review the receipt before exporting. A receipt-level row summarizes one purchase: merchant, date, currency and totals. Item-level rows describe the individual purchases within it. Repeat the receipt reference on each item row so you can trace it to the original without treating the full receipt total as the cost of every item.
Keep customer or job notes with the data, and retain the source image separately. A CSV is a summary, rather than an image archive. Different currencies need separate treatment before totals are combined.
Can I export receipts to Excel?
Excel can open CSV files. CSV is a text table, rather than a native Excel workbook; the original receipt image remains a separate document.
Does it sync with QuickBooks?
There is no direct QuickBooks synchronization in this workflow. A CSV handoff does not create a bookkeeping entry or reconcile a bank transaction.
| Date | Supplier | Material | Amount |
|---|---|---|---|
| 2026-10-10 | Corner Hardware | Deck screws, 5 lb | $34.20 |
| 2026-10-11 | Pine Ridge Lumber | 2x6x12 treated, 8 | $118.40 |
| 2026-10-12 | Main St Fuel | Diesel | $62.75 |
What does typing receipts cost you?
Use your own receipt count, time per receipt and hourly rate. This estimates the value of your data entry time; it is not a measured saving or a promise about scan speed.
Weekly data entry cost
Enter your numbers
Work out what to bill for materials
Markup is the percentage you add to what you paid for materials. A $200 receipt with a 20% markup bills at $240.
Enter the receipt amount and your markup to see the amount to bill. In the scan review you set the markup per line, so fixtures and consumables can carry different rates.
Receipt
What the scan read
| Store | Roadside Fuel |
|---|---|
| Date | 2026-10-11 |
| 1 × Fuel for job equipment | $48.00 |
| Tax (as printed) | $0.00 |
Lines $48.00 + tax $0.00 = $48.00 · matches the printed total
Amount to bill
Enter a receipt amount
Material receipt log (Excel / Sheets)
A material receipt log is a running list of what you bought, for which job, and whether it is billed yet. Fill it in by hand. It works in Excel and Google Sheets.
Columns: Date, Supplier, Job or work order, Material, Quantity, Amount, Tax (as printed), Payment method, Receipt file name, Review status.
| Date | Supplier | Job | Amount | Review status |
|---|---|---|---|---|
| 2026-10-10 | Corner Hardware | Smith kitchen | $34.20 | Billed |
| 2026-10-11 | Pine Ridge Lumber | Rivera deck | $118.40 | Checked |
| 2026-10-12 | Main St Fuel | Rivera deck | $62.75 | Needs check |
Name each receipt file to match its row, for example 2026-10-10_corner-hardware_smith-kitchen.jpg. Set Review status to Needs check, Checked or Billed, so no receipt gets billed twice.
Receipt scanner FAQ
Is this receipt scanner really free?
How do I see the scan result?
How do I scan a receipt?
Do I need an app for Mac, Android or iPhone?
Can I scan receipts in bulk?
Can it read handwritten or blurry receipts?
Does a failed scan use my monthly allowance?
How is tax handled?
What happens to the original receipt?
Can I throw away paper receipts after scanning?
Clear the pile
Scan a receipt, check the lines, and bill the materials on your next invoice.
Related tools
- Receipt generator
- Make a receipt for a payment you received.
- Contractor invoice templates
- Start with a template for labor and materials.
Bill your next material receipt
Take a photo or drop a file. Check the lines, add your markup, put them on an invoice.