ROOFING INVOICE
Standard
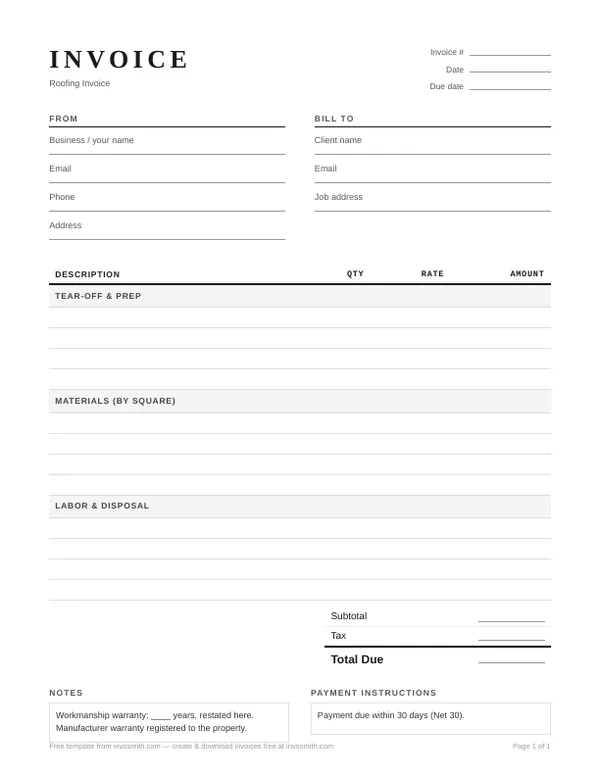
Tear-off, materials by the square, labor and disposal, with space for payment and job notes.
When the roof's done, the invoice should close the job as cleanly as the flashing: what was torn off, what went on, materials by the square, labor, disposal, deposit already paid, balance due, and the warranty restated. The roofing invoice sample keeps completed work, payments received and the balance due on the same record. This free roofing invoice template puts all of it on one page — download it or start with our free invoice generator.
Both files are ready to edit in Word or open as a clean PDF. The difference is whether a deposit needs to be reconciled at completion.
Tear-off, materials by the square, labor and disposal, with space for payment and job notes.
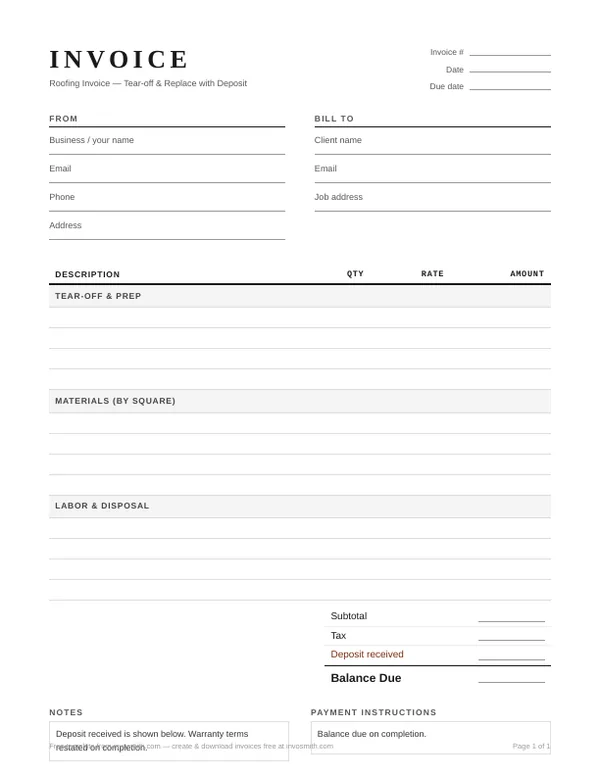
Shows the deposit collected at signing and the balance due on completion.
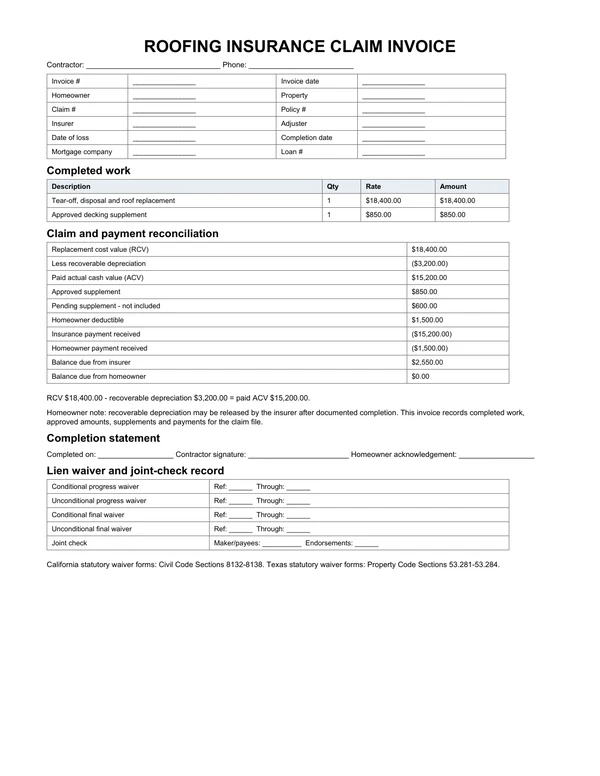
Claim, carrier, adjuster, RCV, depreciation, ACV, deductible, supplement and split-balance fields.
Every download is free — no email, no sign-up, no watermark.
The shared invoice fields stay the same. The work type changes the details worth showing, the units that make the charge checkable, and the line items a first-time roofer is likely to need.
For a leak, damaged flashing, a vent, a pipe boot, or another focused repair.
Often measured by hours, linear feet, or each item rather than squares.
For a tear-off and new roof system where materials and labor need to be checked against the scope.
A square is 100 sq ft. Use it when that is how this job is actually priced.
For storm or other insured damage where the invoice needs to align with an approved scope of work.
Conditional fields should match the approved job documents and applicable requirements.
This is a fictional tear-off-and-replace job. It shows the job address, measured work, an approved extra and the deposit-to-balance calculation in one place.
| Completed work | Qty | Rate | Total |
|---|---|---|---|
| Tear-off & disposal | 24 SQ | $80 | $1,920 |
| Architectural shingles | 24 SQ | $210 | $5,040 |
| Underlayment & flashing | 1 job | $850 | $850 |
| Ridge vent & drip edge | 1 job | $1,440 | $1,440 |
| Installation labour | 1 job | $2,700 | $2,700 |
| Deck repair — approved Change #2 | 1 job | $300 | $300 |
Figures and names are examples only. Use the actual reference, work completed and payments for your job.
A preview shows the shape of the document. The guide explains why each line is there, which details change from one roofing job to another, and what a first-time roofer should write before sending the bill.
A roofing invoice is the record of completed work, not the original bid.
A practical starting point is your business name and contact details, invoice number and date, bill-to details, job-site address, and a reference to the estimate, contract, purchase order or claim associated with the work. Then list completed work with a quantity, unit, rate and line total. Roofing units can include squares for roof covering, linear feet for edge or vent work, sheets for decking, and hours or one job for contained repairs.
At the bottom, show the subtotal, any applicable charge, prior payments or deposit, and the remaining balance. Add payment terms or warranty notes when they are part of the job documents.
A repair invoice should name the problem and the component repaired: leak diagnosis, step flashing, pipe boot, vent, sealant or a small patch. Bill the actual measure — hours, each item, linear feet or one fixed service job — instead of forcing a small repair into a square-based replacement layout.
A replacement invoice needs the system that was installed: tear-off and layer count, shingle or panel type, underlayment, ice and water shield, flashing, drip edge, starter, ridge cap, ventilation, disposal and installation labor. If damaged decking or another extra appeared after tear-off, give it a separate line and point to the approval.
For a job connected to an insurance claim, claim context can help match the invoice to related records. When relevant, include the policyholder and service address, carrier or adjuster, claim number, loss type and approved-estimate reference. The invoice records billed work and payments; it does not decide what an insurer will cover or what a policy pays.
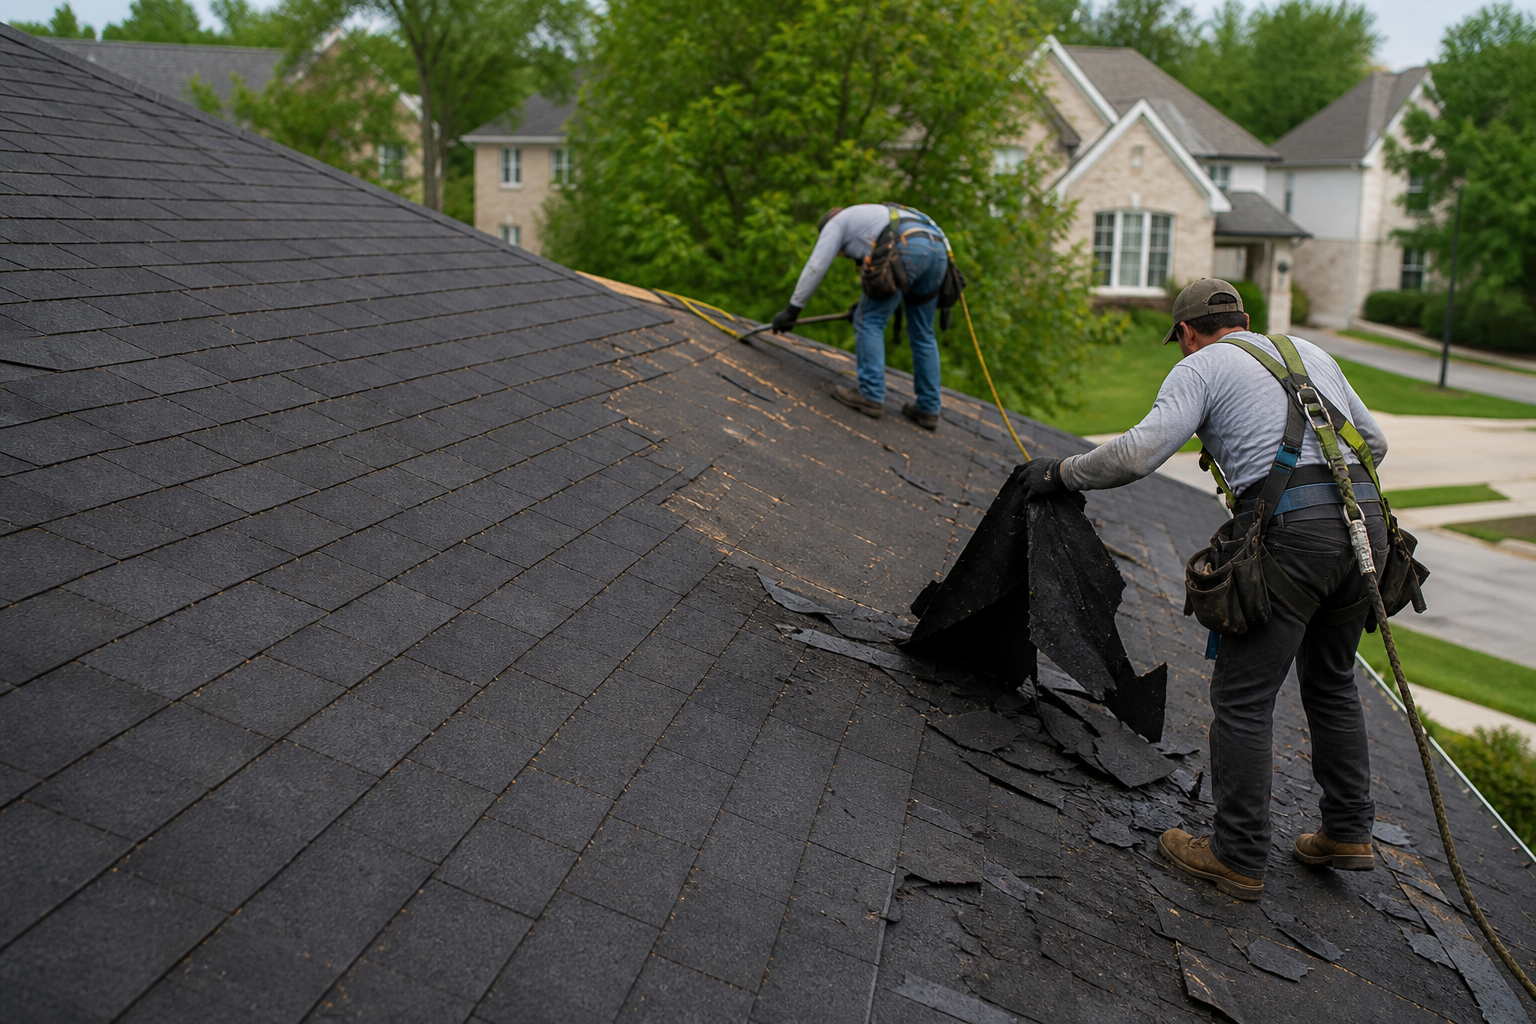
Tear-off and disposal can be listed separately, followed by what went on: underlayment, shingles or panels by the square, flashing, drip edge, and ridge vent. Labor can be bundled into material lines or shown separately; choose a layout that matches the job records.
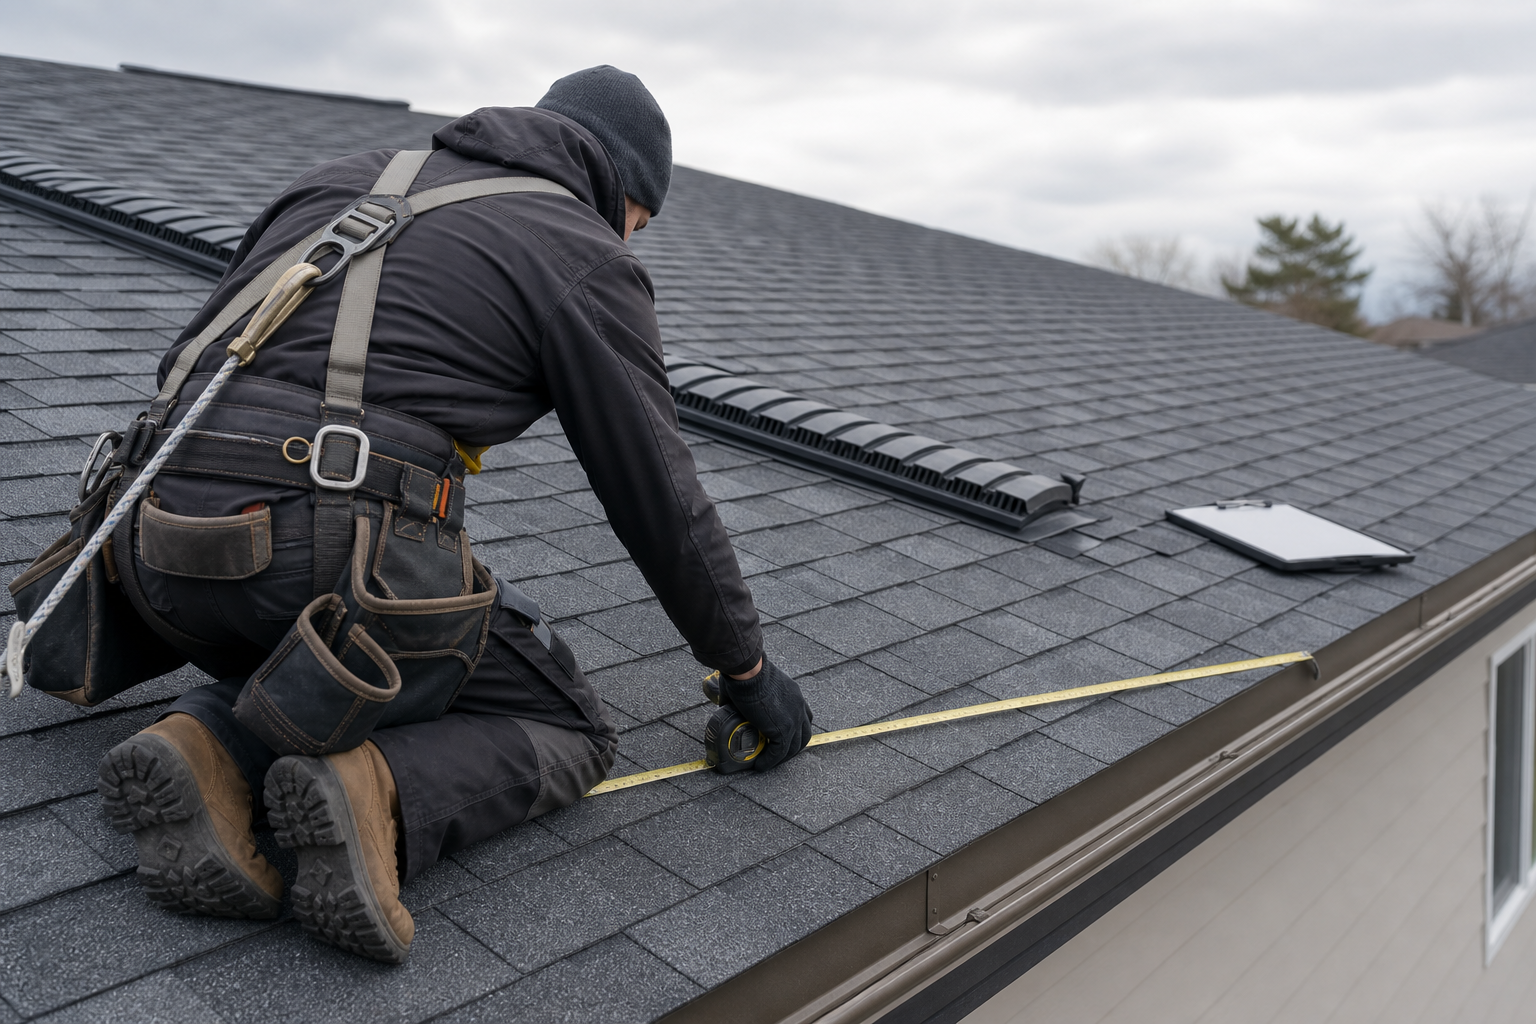
For an insurance-related job, keep the billing record tied to the claim: claim number, policy number, insurer, adjuster, date of loss, property address, mortgage company or lender, and loan number when those references are part of the file. Show replacement cost value (RCV), recoverable depreciation and the paid actual cash value (ACV) as separate fields. The arithmetic should read clearly: RCV − recoverable depreciation = paid ACV.
Keep money already received and money still under review visible on separate lines. A useful layout shows insurance payment received, approved supplement, pending supplement, and the homeowner deductible. The deductible stays in the homeowner column; the invoice should not describe it as waived. Finish with two balances: amount due from the insurer and amount due from the homeowner.
Add a completion statement with the completion date and signature line. If the payment workflow uses lien waivers, label conditional and unconditional forms separately. California Civil Code provides statutory forms for conditional progress-payment waivers (§ 8132), unconditional progress-payment waivers (§ 8134), conditional final-payment waivers (§ 8136) and unconditional final-payment waivers (§ 8138). Texas Property Code §§ 53.281–53.284 likewise governs waiver-and-release forms, and its official statutory forms distinguish conditional from unconditional releases. A joint check can name the homeowner, contractor and lender or insurer as payees; record who must endorse it before treating it as received.
A short homeowner note can explain the depreciation line without promising coverage: the carrier may release recoverable depreciation after documented completion, and the invoice gives the homeowner a completed-work record to send with the claim.
Fictional claim RF-2026-041 lists RCV $18,400.00, recoverable depreciation $3,200.00, and paid ACV $15,200.00. RCV − recoverable depreciation = paid ACV: $18,400.00 − $3,200.00 = $15,200.00. An approved supplement of $850.00 raises the approved invoice total to $19,250.00; a separate $600.00 line remains pending and is not included in that total.
The invoice records $15,200.00 received from the insurer and the homeowner's $1,500.00 deductible, already paid in full. The calculated insurer balance is $2,550.00 and the homeowner balance is $0.00. It also records the completion date, signed completion statement, and the waiver supplied for the payment stage.
Here is a fictional tear-off-and-replace job. The invoice identifies the completed job and its original quote, then makes every part of the total readable: Tear-off & disposal — 24 squares × $80 = $1,920; architectural shingles — 24 squares × $210 = $5,040; underlayment and flashing — $850; ridge vent and drip edge — $1,440; labor — $2,700; and an approved deck-repair change — $300 (Change #2). Invoice total: $12,250.
The customer paid a $2,500 deposit at signing. The final invoice shows that payment as “Deposit received — receipt #R-104” and makes the balance due $9,750, instead of making the client reconstruct the math. Put the property address, completion date, invoice number and the actual quote, contract, purchase-order or job reference in the header when one exists. If an opened-up roof required extra work, give that work its own line and point to the written approval that applies — never bury it inside the original scope.
If the job documents specify a warranty, the invoice can point to those terms or repeat the relevant details for reference. Do not use the invoice to imply that a warranty exists, has been registered, or changes the terms in the estimate, contract, or manufacturer documents.
Start with the roofing estimate template: it records the proposed scope and price before the work begins. Keep the approved estimate, contract or job reference with the job. If the scope changes after the roof is opened up, record the change and its approval before treating it as an invoice line.
When the work is complete, invoice what was actually completed: the original scope, any separately approved change, the deposit or prior payment already received, and the balance now due.
After payment arrives, keep the invoice with the underlying job records and provide a separate payment receipt when appropriate.
A basic invoice only gives you boxes. This is the order that turns those boxes into a usable roofing record.
Put your business name and contact details first. Then add the payer under Bill to and the property under Job site. They are often the same address; for a landlord or property manager, they may not be.
Bill to: Jordan Lee · Job site: 18 Cedar AveUse the completed work, not a vague “roofing service” label. A repair, a full tear-off, and a new installation need different lines.
Tear-off & disposal — 24 squaresUse the unit that makes the charge checkable: squares for many roof materials and labour, linear feet for edge or vent work, sheets for decking, hours for a diagnostic or small repair, or one job for a fixed task.
Architectural shingles — 24 SQ × $210If opened-up work exposed damaged decking or another extra, give it its own line and point to the approval that applies. Do not quietly fold it into the original scope.
Deck repair — 3 sheets · approved Change #2Make the settlement visible: invoice total, less the actual deposit or prior payment, equals the balance now due. Reference the receipt when you have one.
Invoice $12,250 − deposit $2,500 = $9,750 dueYou do not need every line on every job. Pick the group that describes this completed job, then leave irrelevant lines out.
Use when the job is a leak diagnosis, patch, flashing repair, vent repair or another contained fix.
Use when the old roof came off and a new system went on.
Use a separate line when the original scope changed after work began.
Proposed scope and price. Use the roofing estimate template before work begins.
Actual completed work, any approved change, prior payment and the balance requested now.
Payment evidence when a separate receipt is appropriate. Keep it with the job record.
Only include context that applies to this job. A licence number, permit, tax line, warranty reference, insurance claim number or payment method may be relevant in some places and jobs. Include only the fields that belong to the job record.
Use the generator when a downloaded layout is not the right fit for the work you completed.
Short answers for the choices that come up when you prepare a roofing bill.
Useful details include the completed work, quantities and units, line totals, prior payments or deposit, and remaining balance. For roof work, examples include tear-off, disposal, materials by the square, labor, and separately approved repairs. Add warranty details only when they are part of the job documents.
Choose the layout that matches the job and your records. Separate lines show the materials and labor amounts individually; a bundled line can keep a small repair invoice shorter. This template can be used for either approach.
Use an estimate first when you need to document proposed scope and price before work begins. After the work is complete, compare the invoice with the approved scope and list any separately approved changes.